One-piece Scoop Neck Asymmetrical Top
“Drape Drape” is the name of the Japanese pattern design company and you actually buy the entire pattern book (in this case Drape Drape 2) and it contains 14 different draping patterns, some lovely and others slightly weird.
If you read my previous post you’ll remember that my first attempt at making this was fine (although fiddly) up until the final pressing when I accidentally melted a huge hold into the front of the t-shirt! Oops! So after destroying the first top, I dived straight in and cut out another 2 tops (at the same time), different fabrics, and sewed away. Both were successful and I love them both so much.

The replacement to my melted top!

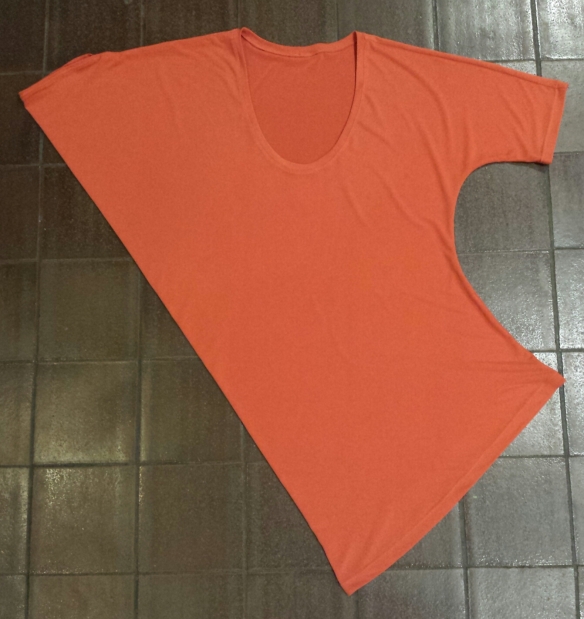
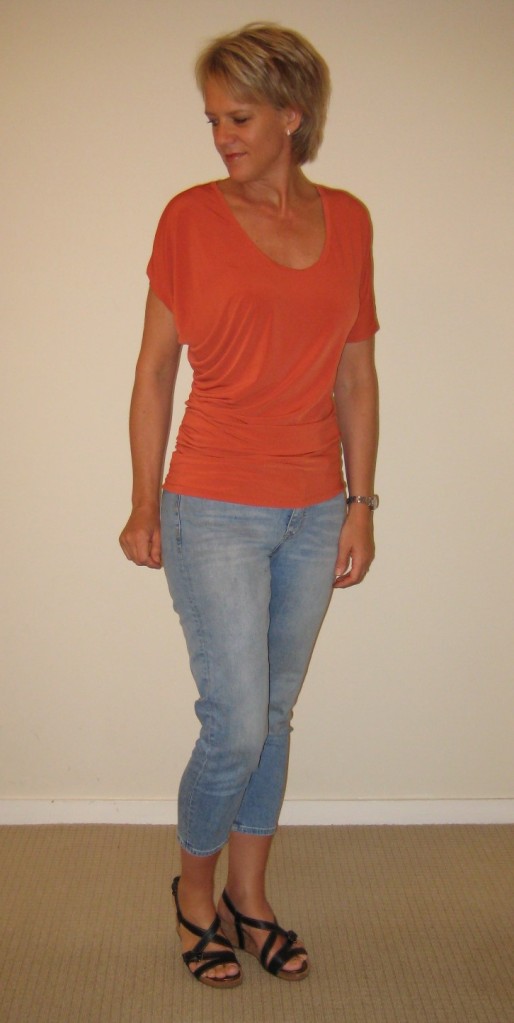
The orange version
You can really see the asymmetrical design of it with the 2 sleeves being completely different and not even the same length! The orange coloured top was much easier to sew and didn’t need any toilet paper backing (see my previous post about a trick I learnt to stop the wavy seams that sometimes happen with lightweight stretch fabrics). It worked so well under the overlocker and therefore took next to no time (not surprising really when you consider this was my third version in as many days!) to whip up! The fabric I used for the black top is unknown but semi sheer and very stretchy… The orange top was made of this:
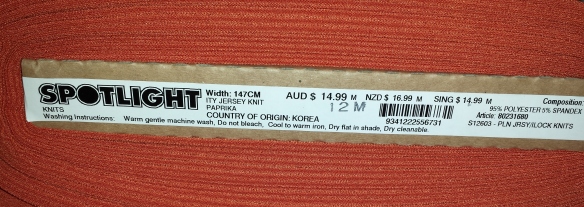
I love how the fabric colour is called PAPRIKA – makes it look much nicer than orange!
I’ve gotta be honest and say that if it wasn’t for Sew Busy Lizzy’s version of this same top, I wouldn’t have even dreamt of buying the pattern. I mean, look at the photo in the pattern book:
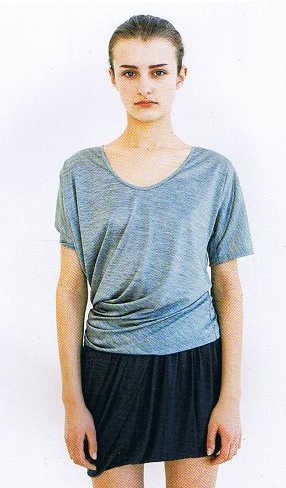
To me this just looks like a boring, baggy t-shirt.
I know these days they don’t get models to smile because it’s all about the clothing (and not the model) but am I the only person who likes to see that the model is actually enjoying wearing the clothing she has on? Seriously, her body language just screams BORING and FRUMPY! grrrrrrr!!
The pattern is extremely unusual and it’s made up of just ONE pattern piece (oh, and the neck binding). Look at it here:

Unusual pattern, eh?
And then all you do is fold it down the middle like the next photo and follow the instructions in the booklet to sew it all up!
Very unusual shape once assembled…
I used the overlocker for the side seams and the shoulder seams and did the neck band differently to the instructions. Instead of cutting an 85cm length for the neck band, I cut it at about 65cm and made it into a loop, folded it in half and then stretched it to fit around the outside of the neck using my sewing machine’s overlocking stitch (you know, the “straight, straight, zig-zag” stitch). Folded the seam back into the shirt, ironed it (using a Rajah cloth) and then top stitched it to hold it into place. I made my first top according to the instructions and it was a lot more fiddly and I actually ended up hand stitching it which took a lot longer and still didn’t look nice and flat. I’m really happy with the way I did the other 2 tops. All other hems were sewn using twin needles.
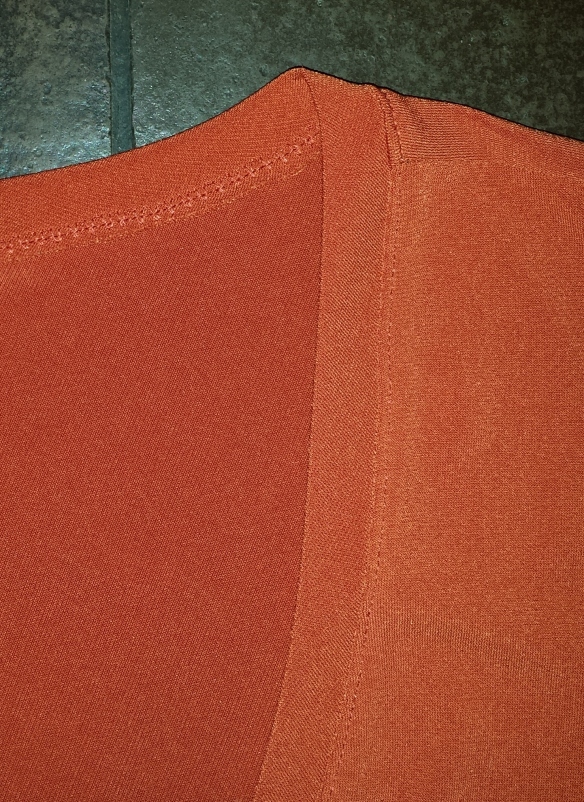
Using a matching coloured thread I attached the neckband using the sewing machine.
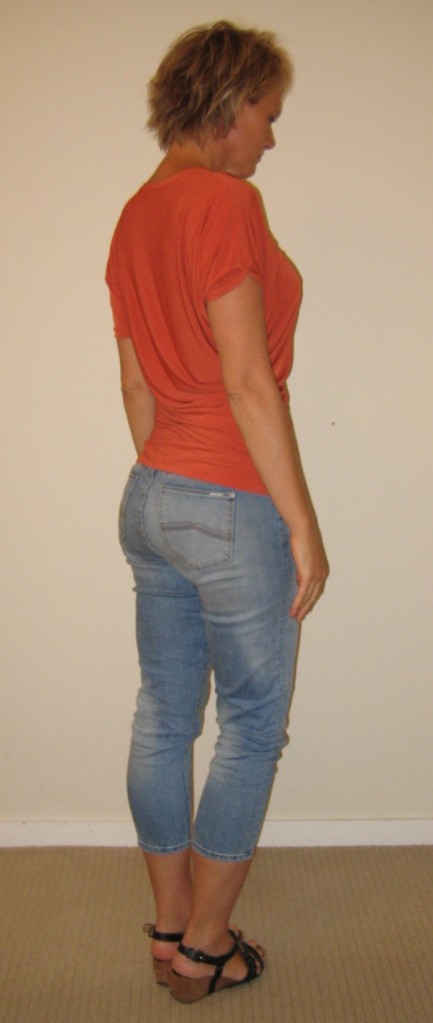
To finish up, I’ll add a few different angles of the shirt for you to see…

This is where the fold is… (so no side seam on this side!)
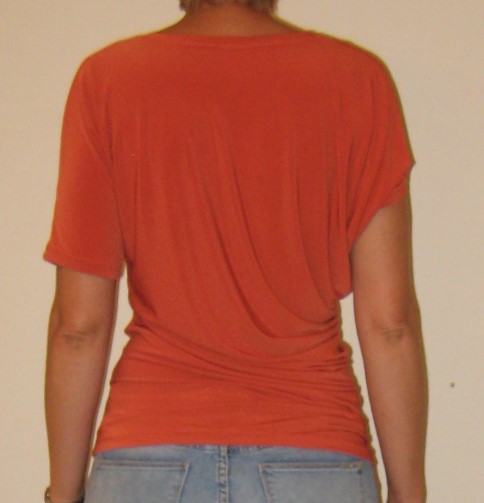
Rear view
 I really love the neckline and the way the fabric drapes – so flattering and comfortable to wear. I think I might even alter current “normal” t-shirt pattern to have the same neckline as this. It sure feels nice to be wearing something new and unique again and while I’m on a roll, I will try to finish a dress that has been cut out for a couple of months already!!!
Oh, and the last 2 pics are so I can introduce you to my new pup named Zasha. The name is Russian and means “defender of people” and it suits her down to a tee! She’s the love of my life and there’s never a dull moment any more!
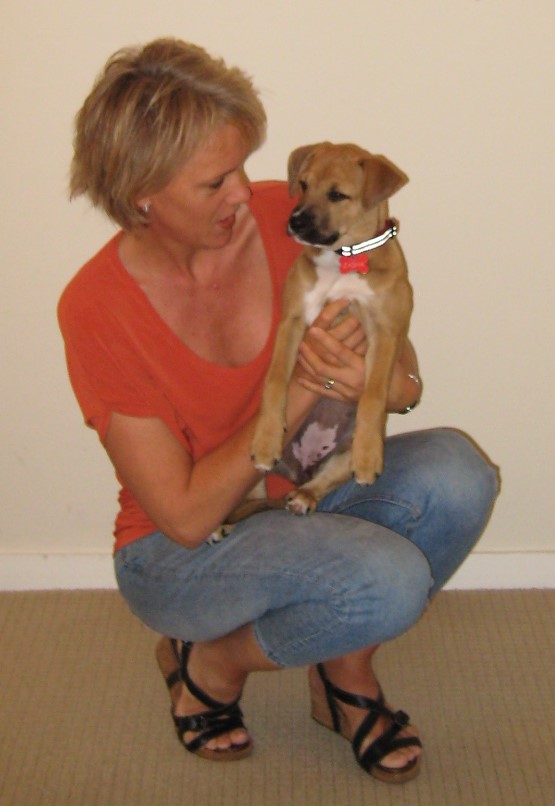
Meet Zasha… she’s now 14 weeks old
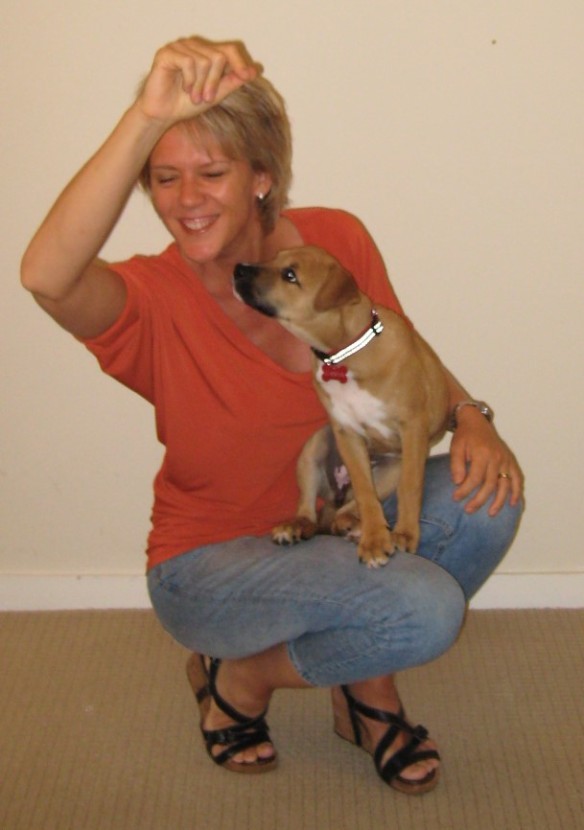
I think I just copped a kiss in this shot! xx
Happy sewing everyone!
Carola x